
It’s such a common experience that everyone you know might have come across and that is to face the annoyance of a separated zipper. This familiar, yet frustrating problem can turn our favorite clothing or accessory into a subject of worry. So, the most common question that comes to our minds is, “How to fix a separated zipper.”
Whether it’s a stuck slider, misaligned teeth, or stuck-up fabric within the clothing layers, zipper malfunction can make an otherwise reliable item impractical. However, there’s a silver lining – the majority of zipper issues can be resolved in the comfort of your home with a bit of patience and some simple tools.
I’m going to tell you about some easy steps that we can follow to mend our broken zippers. Trust me, it’s not rocket science, just a little bit of patience, and your zipper will be zipping like a race car in no time.
This article aims to offer an in-depth, methodical guide on fixing a separated zipper. The techniques explained are simple and straightforward. All they require is to learn it as a life hack.
Understanding the Zipper’s Structure
Before we dive into the specifics and what’s exactly in a zipper, let’s start by familiarising ourselves with the fundamental components that make up a zipper. This knowledge helps us to visualize a better picture and in turn a better comprehension of the issue and its resolution.
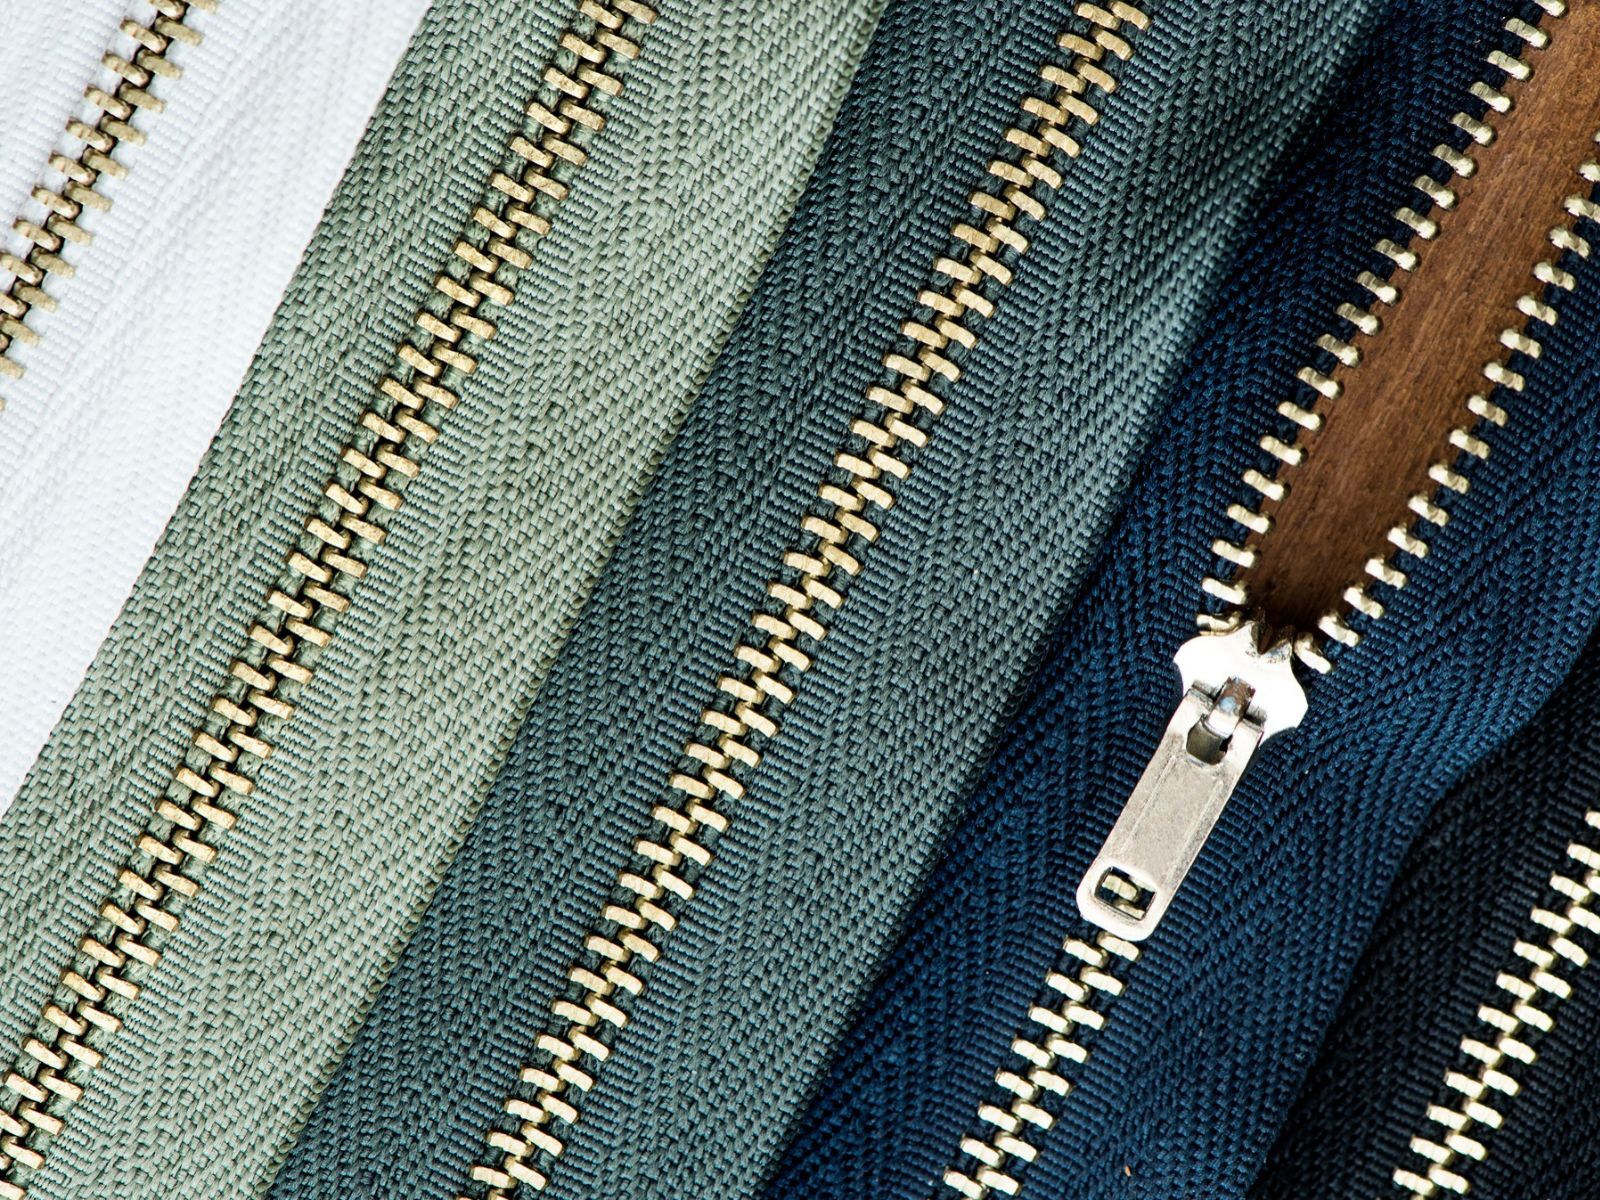
- Slider: This is the mobile/moving part that cuts through the chain, effectively locking and unlocking the teeth. When you use a zipper often, the slider opening will begin to stretch open a bit. Inspect both ends of the zipper to determine if they have the same opening size. If one end looks wider than the other, then this may be why your zipper failed.
- Teeth: These are distinct interlocking elements that combine to constitute the chain of the zipper. It is important that the teeth are perfect in one line. Make sure that once you get to the top of the zipper you don’t have extra teeth on one side
- Tape: This is the fabric positioned on the teeth’s flanks. It’s important to be gentle with the stop and don’t cut it or bend it until it breaks. You need to keep it intact.
- Stop: Positioned at the apex and nadir of the zipper, this part prevents the slider from detaching from the chain. They are not big pieces and they look similar to teeth but they are slightly larger and are positioned at the very end of each side of the teeth.
Recognizing the help of these parts in a better understanding of the issue and creating a solution based on that.
Identifying the Zipper Issue
Before learning to know “How to fix a separated zipper,” identifying a zipper issue involves closely examining its essential components. The slider, for instance, can often be the problem’s root. With frequent use, its opening may start to widen, and if this is noticeable compared to the other end, it’s likely the cause of the malfunction.
Similarly, the teeth of the zipper, which interlock to form the chain, must align correctly. Extra teeth on one side at the top may be a sign of an issue.
The tape – the fabric surrounding the teeth – should be treated with care; damaging this part can result in further complications.
Lastly, the stop, found at the top and bottom of the zipper, ensures the slider doesn’t detach from the chain. They resemble teeth but are slightly larger and positioned at the ends.
Any issue with these parts can lead to a faulty zipper. By acknowledging the role each component plays in the zipper’s function, we can better understand the problem and devise an appropriate solution.
The Procedure of Fixing a Separated Zipper: A Step-By-Step Guide
Before we start to know how to fix a separated zipper, ensure that you have all the necessary tools readily available to you. This includes a pair of pliers, a soap bar or wax for lubrication, and possibly a needle and thread if a new stop must be fashioned.
Step 1: Analyse the Zipper
The initial step involves closely scrutinizing the zipper to locate the root of the problem. If the slider has shifted from the teeth or the teeth aren’t interlocking correctly, the culprit is likely the slider.
Step 2: Teeth Realignment
If the teeth are not engaging correctly, begin by delicately realigning them using your fingers. If there’s a piece of fabric or thread trapped in the teeth, carefully untangle it.
Step 3: Slider Correction
If the issue lies with the slider, your task will be to guide it up and down to engage the teeth properly. Initiate by positioning the slider at the bottom of the zipper. Then, grasp it firmly and apply a slow, consistent force to move it upward along the teeth chain.
Step 4: Zipper Lubrication
Should the slider movement be uneven, it may require lubrication. You can accomplish this by rubbing a soap bar or some wax along the teeth on both sides of the zipper. This should help with smoother slider movement.
Step 5: Utilisation of Pliers
If the slider isn’t interlocking the teeth correctly still, it could be due to it becoming excessively loose over time. Here, use the pliers to softly compress the slider’s sides. Be careful not to put too much force as it could result in the slider breaking.
Step 6: Stop Replacement
If the bottom stop of the zipper has detached, you’ll need to create a replacement. This happens by sewing several stitches above the zipper’s last teeth, using a needle and thread. These stitches will function as a new zipper stop.
Conclusion
What’s the takeaway here? After reading the article “How to Fix a separated zipper”. This article is a practical manual on tackling a busted zipper, and it also shows we’ve got what it takes to deal with such hiccups.
So basically a broken zipper might seem difficult at first but once you dive in to figure out what is exactly causing the issue then the solution becomes quite straightforward. With a little bit of patience and a pinch and splash of creativity, there is hardly any broken zipper we cannot fix at all!
The first step in the process is getting to know our zipper’s anatomy – the slider, teeth, tape, and stop. Familiarizing ourselves with these components helps us diagnose the issue and plan our repair strategy. More often than not, the slider is the main source of trouble.
Here’s the cool part – we don’t need any high-tech gadgets or a professional handyman to fix a faulty zipper. We’re perfectly capable of doing it with basic stuff we’ve got lying around the house like pliers, a bar of soap or some wax, and potentially a needle and thread. Simply take a breather, gather your tools, and walk through the steps. Before you know it, your zipper will be back to work!